1. Introduction: The Warm Embrace of Orchard Flavors
There is something inherently soul-soothing about the scent of cinnamon and baking apples wafting through a home. It is the olfactory equivalent of a soft cashmere blanket on a brisk autumn afternoon. While a traditional apple pie is the undisputed monarch of the dessert world, the Apple Crumble Bar is the approachable, versatile, and arguably more textural cousin that deserves a permanent spot in your baking repertoire.
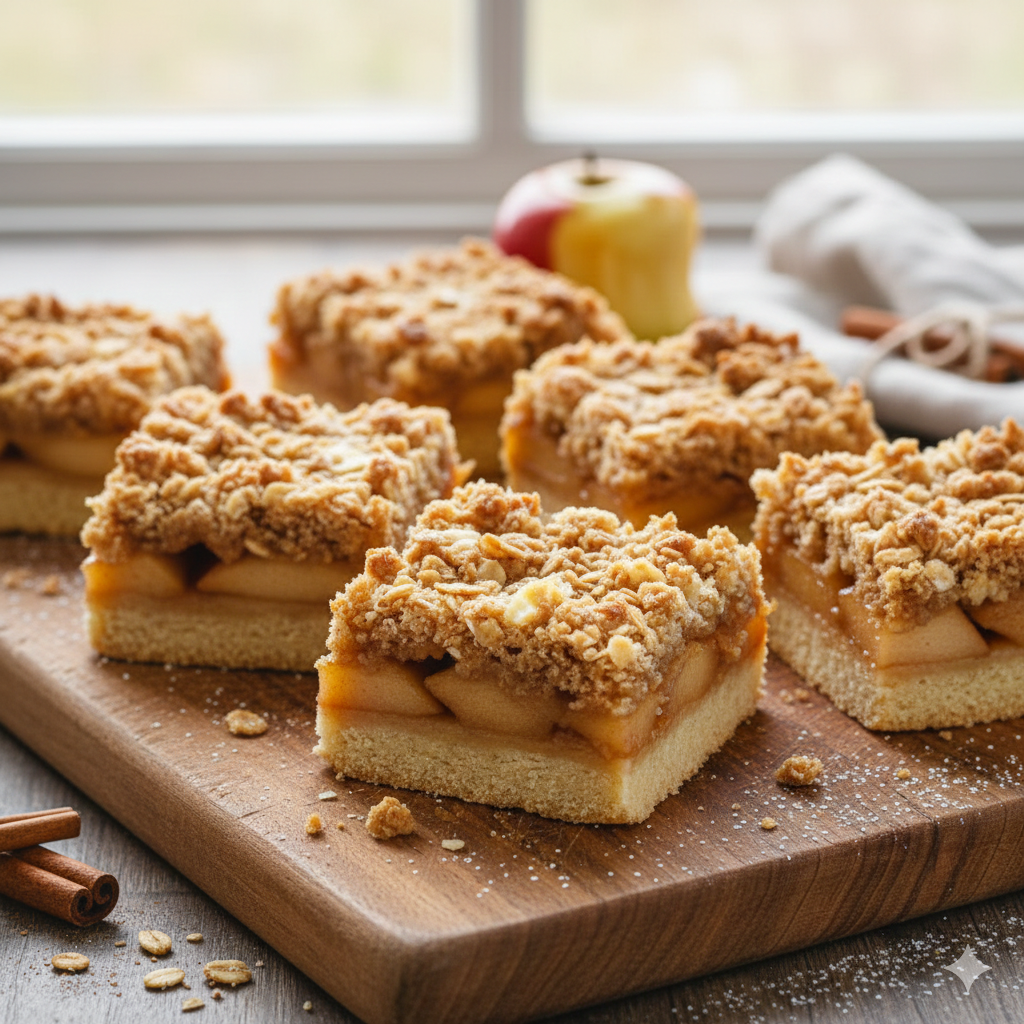
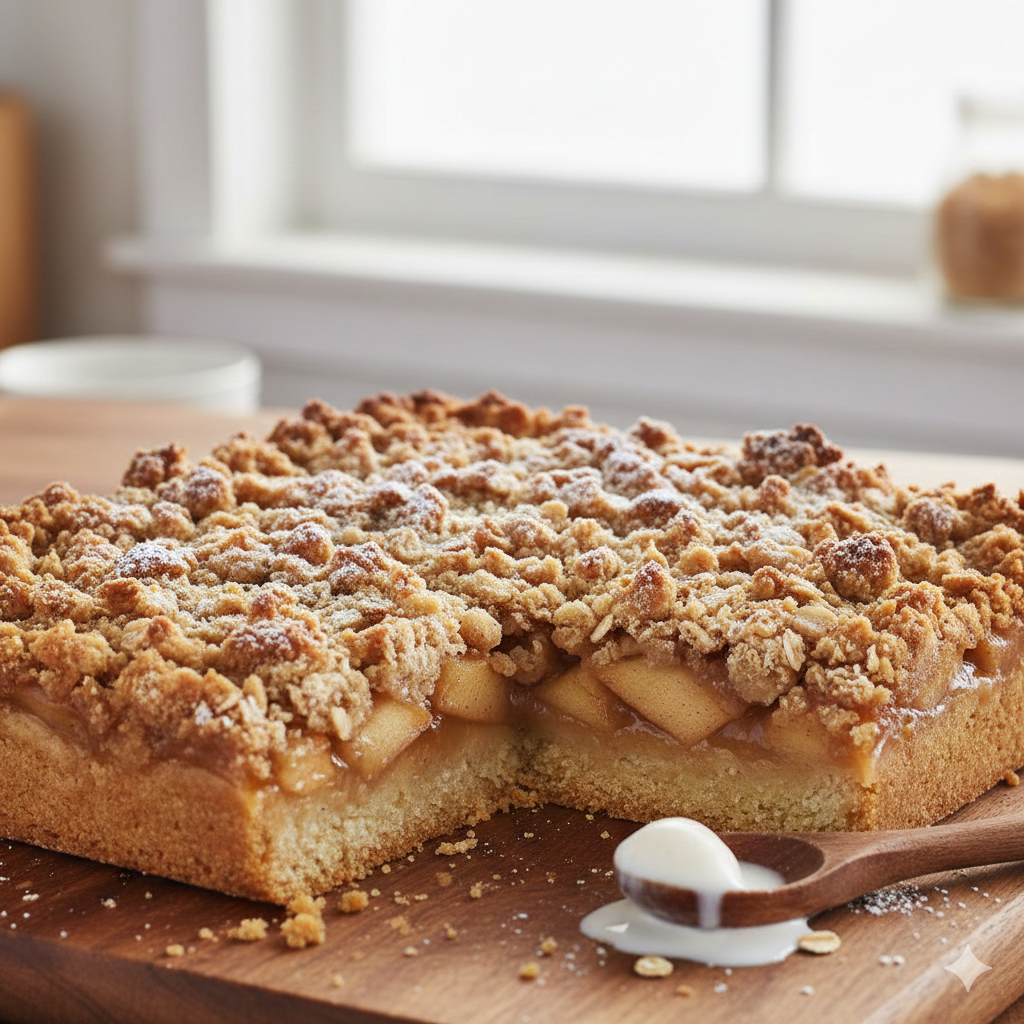
The beauty of the apple crumble bar lies in its architecture. It begins with a foundational layer of buttery, melt-in-your-mouth shortbread. This is topped with a generous heap of thinly sliced apples, macerated in a blend of warm spices and brown sugar until they are tender and jammy. Finally, the “crumble”—a craggy, golden-brown landscape of oats, flour, and butter—provides the essential crunch that contrasts perfectly with the soft fruit.
Culturally, this dish draws inspiration from the British “Apple Crumble,” a wartime staple born out of rationing when pastry dough was too expensive to produce. The crumble offered a way to enjoy the essence of a pie using pantry staples. Today, we’ve refined it into a portable bar format, making it the ideal companion for school lunches, office potlucks, or a sophisticated afternoon tea. Whether you’re an experienced pâtissier or a weekend kitchen warrior, these bars offer a high-reward result for a relatively low-effort process.
2. Recipe Overview
- Cuisine Type: American / British Fusion
- Difficulty Level: Easy to Intermediate
- Prep Time: 25 minutes
- Cook Time: 45–50 minutes
- Total Time: 1 hour 15 minutes (plus cooling)
- Dietary Classifications: Vegetarian (Can be adapted for Vegan or Gluten-Free diets)
3. Equipment and Tools
To achieve the perfect bake, precision and the right vessels are key. Here is what you will need:
- Baking Pan: One 8×8 inch (20×20 cm) square baking pan.
- Specification: Use a metal pan for crisper edges; glass pans take longer to heat and may result in a softer crust.
- Depth: Ensure a depth of at least 2 inches to accommodate the layers.
- Mixing Bowls: One large bowl for the crust/crumble and one medium bowl for the apple filling.
- Pastry Cutter or Fork: To cut the cold butter into the flour mixture.
- Parchment Paper: Crucial for “slinging” the bars out of the pan for clean slicing.
- Mandoline or Sharp Chef’s Knife: For uniform apple slices (uniformity ensures even cooking).
- Measuring Tools: A digital kitchen scale is preferred for accuracy, but a standard set of measuring cups and spoons will suffice.
4. Serving Suggestions
These bars are versatile enough to transition from a casual snack to an elegant plated dessert.
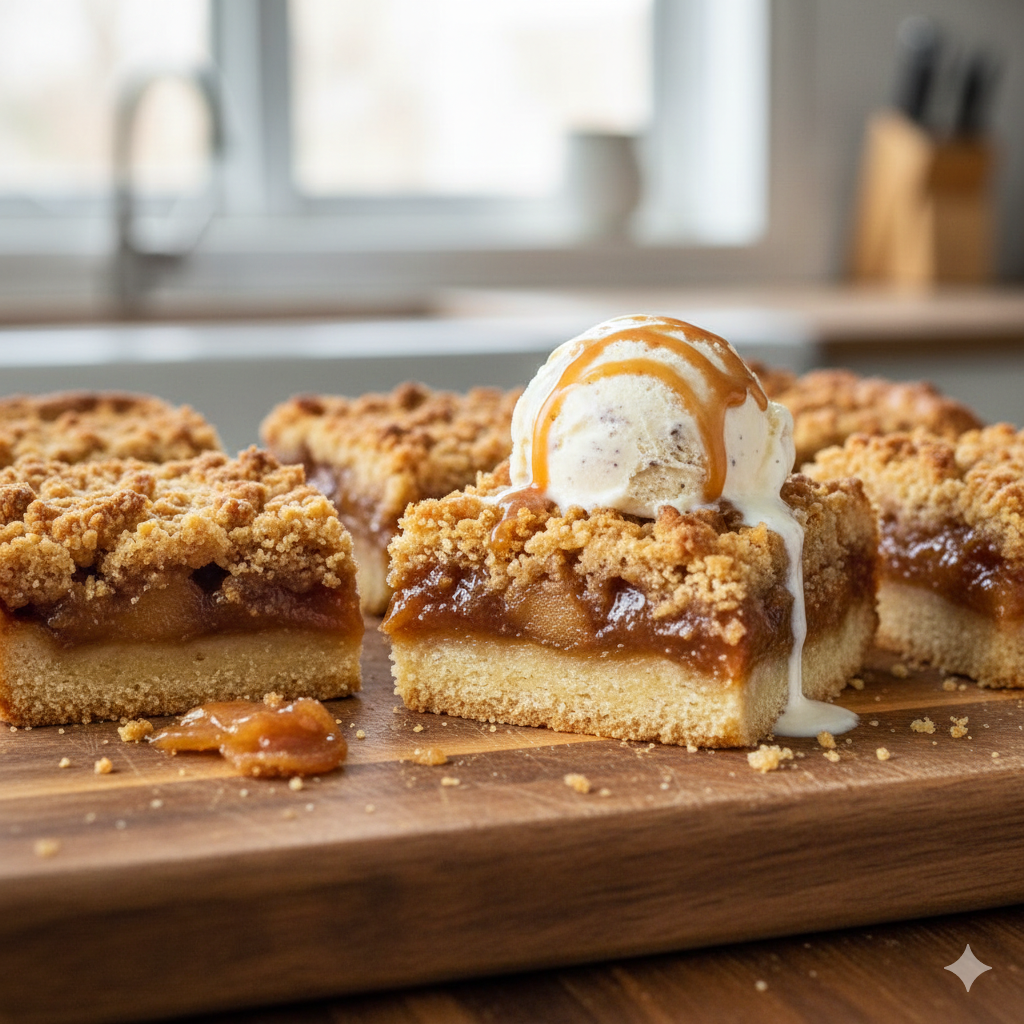
- The Classic: Serve warm with a generous scoop of high-quality Madagascar vanilla bean ice cream. The contrast of hot apples and cold cream is legendary.
- The Gourmet: Drizzle with a homemade salted caramel sauce and a light dusting of flaky sea salt.
- The Morning Treat: Enjoy at room temperature alongside a sharp Espresso or a spiced Chai latte.
- Garnish: A sprig of fresh mint or a few toasted pecans adds a professional visual touch.
5. Nutritional Information (Per Serving)
Based on 16 bars per recipe.
| Nutrient | Amount |
| Calories | 245 kcal |
| Total Fat | 12g |
| Saturated Fat | 7g |
| Carbohydrates | 34g |
| Fiber | 2g |
| Sugar | 18g |
| Protein | 2g |
Health Note: Apples provide a boost of Vitamin C and dietary fiber (pectin), which aids in digestion. To reduce glycemic impact, you may substitute half of the brown sugar with a natural granulated sweetener.
6. Storage and Reheating
- Room Temperature: Store in an airtight container for up to 2 days.
- Refrigeration: These bars keep beautifully in the fridge for up to 5 days. Cold temperatures firm up the butter, making them extra “snappy.”
- Freezing: Wrap individual bars in plastic wrap and store in a freezer-safe bag for up to 3 months. Thaw in the fridge overnight.
- Reheating: To regain the “crumble” crunch, reheat in a toaster oven at 350°F (175°C) for 5–8 minutes. Microwave heating is not recommended as it can make the crust soggy.
7. Expert Tips and Variations
Professional Chef Tips
- Cold Butter is King: Ensure your butter is refrigerator-cold for the crumble. This creates small pockets of fat that steam during baking, resulting in a flaky texture.
- The Pre-Bake: Always par-bake your bottom crust. This prevents the “soggy bottom” syndrome caused by the juices from the apples.
- Toss with Cornstarch: Don’t skip the cornstarch in the filling; it thickens the apple juices into a silky glaze.
Creative Variations
- The Berry Twist: Add 1/2 cup of fresh blackberries or cranberries to the apple mixture for a tart pop of color.
- Gluten-Free: Swap the all-purpose flour for a 1:1 gluten-free baking blend and ensure your oats are certified GF.
- Nutty Crunch: Add 1/2 cup of chopped walnuts or slivered almonds to the crumble topping.
8. Ingredients Section
For the Shortbread Crust & Crumble
- Unsalted Butter: 1 cup (226g), cold and cubed.
- All-Purpose Flour: 2 cups (250g).
- Rolled Oats: 1/2 cup (45g) — provides texture to the top layer.
- Granulated Sugar: 1/2 cup (100g).
- Light Brown Sugar: 1/4 cup (50g), packed.
- Baking Powder: 1/2 teaspoon.
- Salt: 1/4 teaspoon.
For the Apple Filling
- Apples: 4 large (approx. 700g). Recommended: Granny Smith or Honeycrisp for a balance of tart and sweet.
- Lemon Juice: 1 tablespoon (prevents browning and balances sweetness).
- Light Brown Sugar: 1/4 cup (50g).
- All-Purpose Flour: 1 tablespoon (to thicken).
- Cinnamon: 1.5 teaspoons.
- Nutmeg: 1/4 teaspoon, freshly grated if possible.
9. Step-by-Step Instructions
Step 1: Prep and Preheat
Preheat your oven to 375°F (190°C). Grease an 8×8 inch baking pan and line it with parchment paper, leaving an overhang on two sides for easy removal.
Step 2: Create the Base and Topping
In a large bowl, whisk together the flour, sugars, baking powder, and salt. Add the cold, cubed butter. Using a pastry cutter or your fingers, work the butter into the flour until the mixture resembles coarse crumbs (roughly the size of peas).
Step 3: Par-Bake the Crust
Press half of this mixture firmly into the bottom of your prepared pan. Press hard to ensure a solid base. Bake for 12–15 minutes or until just slightly golden.
Self-Correction: While the crust bakes, add the rolled oats to the remaining flour/butter mixture to create your “Crumble Topping” and set aside.
Step 4: Prepare the Filling
Peel, core, and thinly slice the apples (about 1/8 inch thick). In a medium bowl, toss the apples with lemon juice, brown sugar, cinnamon, nutmeg, and 1 tablespoon of flour. Ensure every slice is coated.
Step 5: Assembly
Layer the apple slices over the par-baked crust. Try to lay them flat to avoid large air gaps. Sprinkle the remaining oat-crumble mixture evenly over the top.
Step 6: The Final Bake
Return the pan to the oven and bake for 30–35 minutes. You are looking for a deep golden-brown topping and bubbling apple juices.
Step 7: The Cooling Mandate
This is the hardest part: Let the bars cool completely in the pan. If you cut them while hot, they will fall apart. For the cleanest squares, refrigerate for 1 hour before slicing.
10. Frequently Asked Questions (FAQ)
Q: Can I use different types of apples?
A: Absolutely. However, avoid “soft” apples like Red Delicious, which turn to mush. A mix of Granny Smith (tart) and Gala (sweet) creates a complex flavor profile.
Q: My crumble is too sandy, what did I do wrong?
A: This usually happens if the butter wasn’t incorporated enough or was too hard. Rub the mixture between your palms slightly to create larger “clumps.”
Q: Can I make this vegan?
A: Yes! Substitute the butter with cold, solid coconut oil or a high-quality vegan butter stick.
Q: Why is my crust soggy?
A: You likely skipped the par-bake or your apples were exceptionally juicy. Adding an extra teaspoon of cornstarch to the apples can help if you are using very ripe fruit.
Q: Do I have to peel the apples?
A: It’s recommended for texture. Apple skins can become tough and “papery” when baked inside a bar.


