1. Introduction: The Golden Child of the Baking World
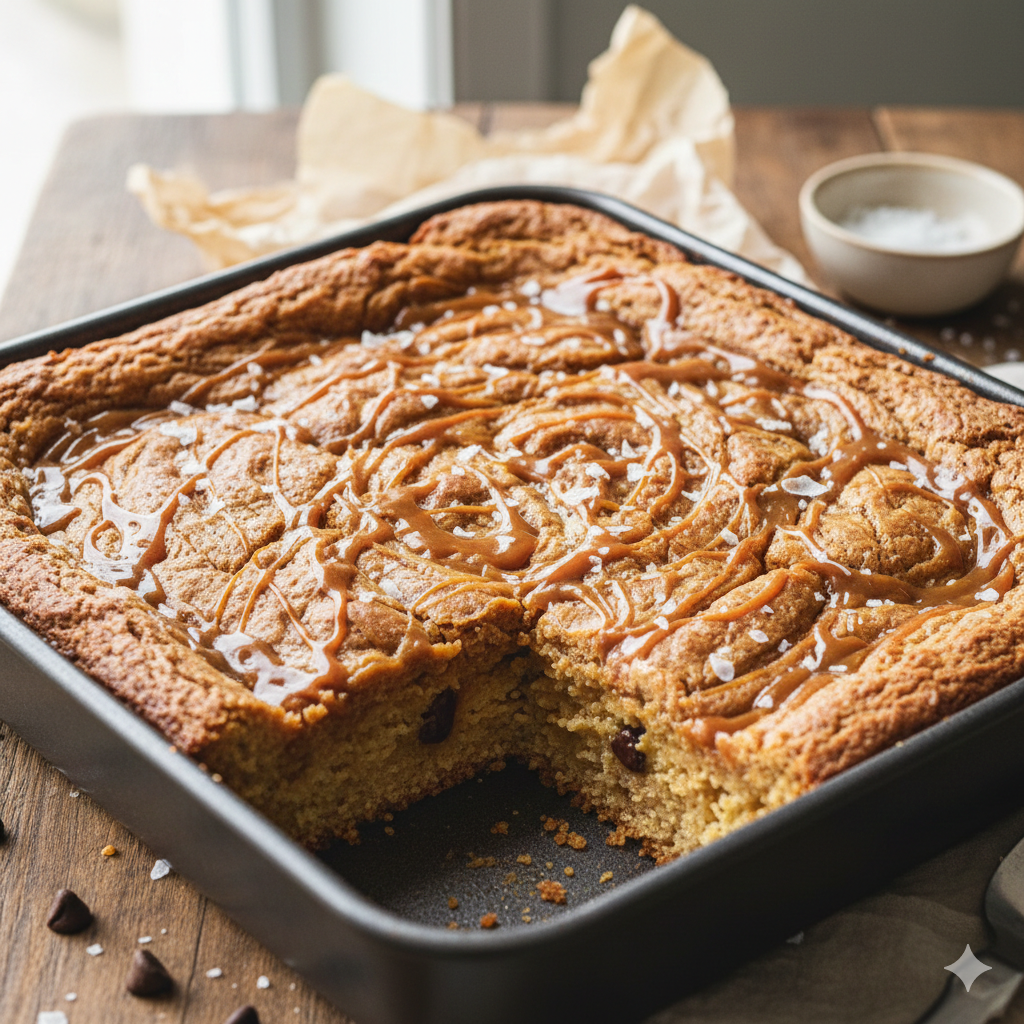
While the brownie has long reigned supreme in the world of handheld desserts, there is a sophisticated, golden-hued cousin that deserves a permanent spot in your recipe tin: the Salted Caramel Blondie.
A blondie is not simply a “white brownie.” It is a distinct culinary creation characterized by a deep, butterscotch-like flavor profile derived from the marriage of melted butter and brown sugar. When you introduce the sharp, sophisticated edge of salted caramel into this dense, chewy base, you create a symphony of flavors—sweet, salty, buttery, and rich.
Historically, blondies (or “butterscotch brownies”) actually predate the cocoa-based brownie we know today. They represent a classic Americana style of baking that relies on high-quality pantry staples to create something extraordinary. This recipe is designed for those who find traditional brownies too heavy or one-dimensional. It’s a dessert that feels nostalgic yet tastes entirely modern, thanks to the addition of flaky sea salt and a gooey caramel core.
2. Recipe Overview
- Cuisine Type: American / Contemporary Bakery
- Difficulty Level: Intermediate (requires basic sugar work for the caramel)
- Prep Time: 25 minutes
- Cook Time: 30–35 minutes
- Total Time: Approx. 1 hour (plus cooling)
- Dietary Classifications: Vegetarian (Contains dairy, eggs, and gluten)
3. Equipment and Tools
To achieve the perfect texture—crinkly on top and fudgy in the center—having the right tools is essential.
- Baking Pan: 8×8 inch (20×20 cm) square metal baking pan.
- Note: Avoid glass pans if possible, as they retain heat differently and can lead to overbaked edges.
- Parchment Paper: Essential for “sling” construction to lift the blondies out cleanly.
- Heavy-Bottomed Saucepan: For the caramel, a thick base prevents the sugar from burning unevenly.
- Mixing Bowls: One large heat-proof bowl for the batter.
- Whisk and Silicone Spatula: For emulsifying the fats and folding in the dry ingredients.
- Kitchen Scale: Highly recommended for precise flour and sugar measurements.
- Digital Thermometer: Helpful for checking caramel temperature, though visual cues are provided.
4. Serving Suggestions
Plating Recommendations
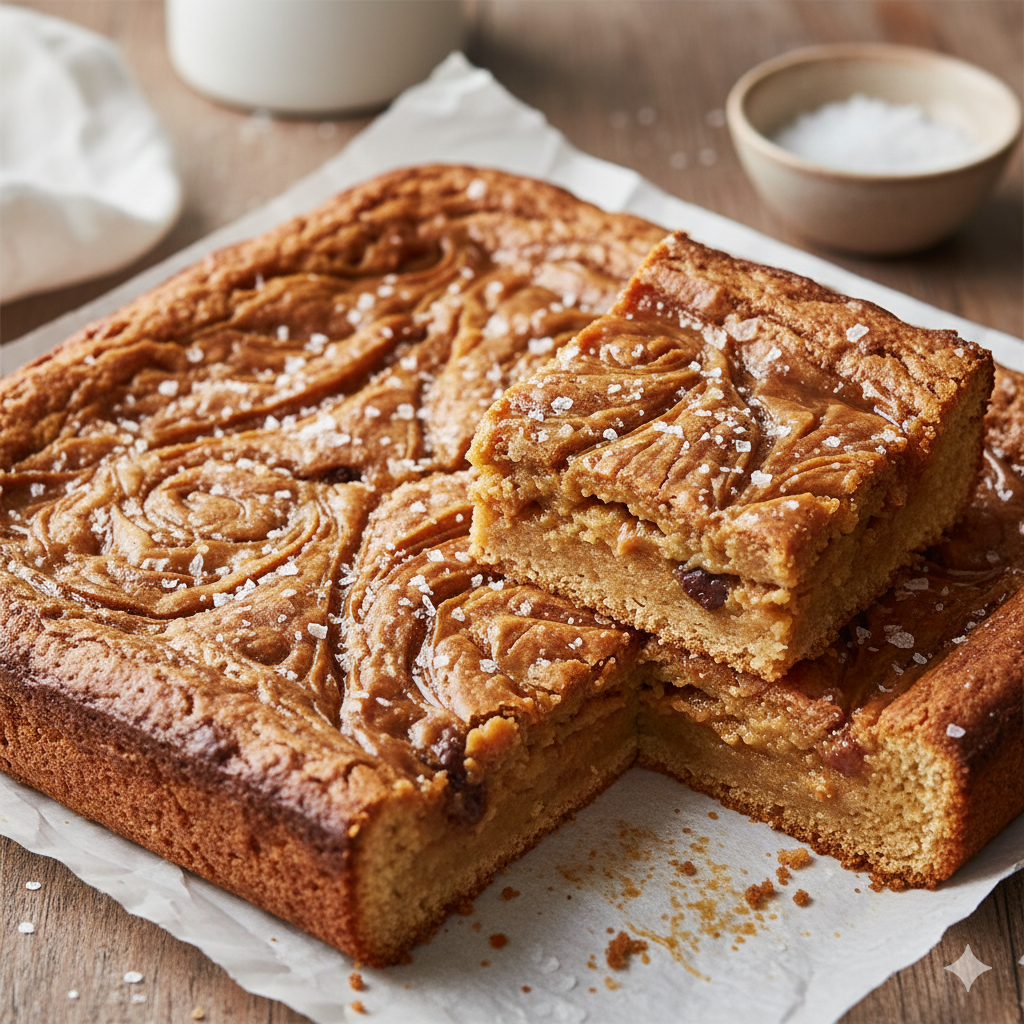
Serve a square of the blondie slightly warm. The caramel should be just soft enough to pull slightly when bitten.
Garnish Ideas
- A final sprinkle of Maldon sea salt flakes.
- A dollop of unsweetened whipped cream to balance the richness.
- A dusting of toasted pecans for added crunch.
Beverage Pairings
- Coffee: A dark roast or a double espresso cuts through the sugar beautifully.
- Tea: Earl Grey, with its bergamot notes, complements the caramel.
- Wine: A late-harvest Riesling or a glass of Tawny Port.
5. Nutritional Information (Per Serving)
Serving size: 1 square (based on 16 squares per pan)
| Nutrient | Amount |
| Calories | 310 kcal |
| Total Fat | 16g |
| Saturated Fat | 10g |
| Cholesterol | 65mg |
| Sodium | 240mg |
| Total Carbohydrates | 39g |
| Dietary Fiber | 0.5g |
| Sugars | 28g |
| Protein | 3g |
6. Storage and Reheating
Storage
- Room Temperature: Store in an airtight container for up to 4 days.
- Refrigeration: Can be refrigerated for up to 7 days; however, this will firm up the caramel significantly.
Freezing
Blondies freeze exceptionally well. Wrap individual squares in plastic wrap and place them in a freezer-safe bag for up to 3 months.
Reheating
To restore that “just-baked” gooiness, microwave a single square for 10–15 seconds. Alternatively, place in a 300°F (150°C) oven for 5 minutes.
7. Expert Tips and Variations
Professional Chef Tips
- Brown the Butter: For an extra layer of complexity, cook your butter until the milk solids turn golden brown and smell nutty.
- Don’t Overmix: Once the flour is added, mix only until just combined. Overmixing develops gluten, which turns a fudgy blondie into a cakey one.
- The “Crackle” Top: Whisking the eggs and sugar vigorously for 2 minutes before adding the fat helps create that sought-after shiny, papery top.
Creative Variations
- The “Everything” Blondie: Add 1/2 cup of white chocolate chips and 1/2 cup of toasted macadamia nuts.
- Bourbon Caramel: Add 1 tablespoon of high-quality bourbon to the caramel sauce once it’s removed from the heat.
- Brownie Swirl: Dollop spoonfuls of brownie batter into the blondie mix for a “brookie” effect.
8. Ingredients Section
For the Salted Caramel Sauce
- 1 cup (200g) Granulated white sugar
- 6 tbsp (85g) Unsalted butter, room temperature
- 1/2 cup (120ml) Heavy cream, room temperature
- 1 tsp Sea salt (fine)
For the Blondie Base
- 1 cup (225g) Unsalted butter, melted and slightly cooled
- 1 ½ cups (300g) Light brown sugar, packed (dark brown works for a deeper molasses flavor)
- 2 Large eggs, room temperature
- 1 tbsp Vanilla bean paste or high-quality extract
- 2 cups (250g) All-purpose flour
- 1 tsp Baking powder
- 1/2 tsp Kosher salt
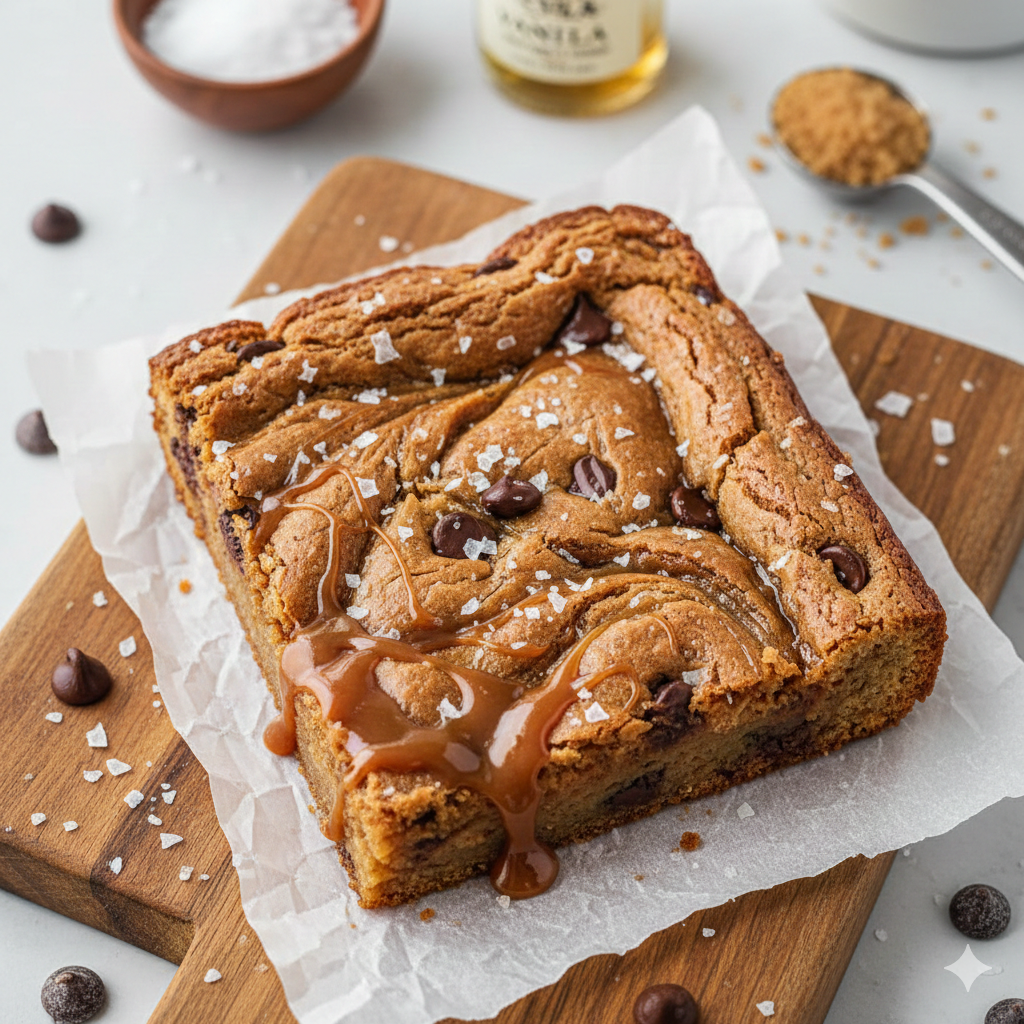
- 1/2 cup Semi-sweet chocolate chips (optional, for balance)
9. Step-by-Step Instructions
Phase 1: The Caramel
- Melt the Sugar: In a medium saucepan, heat granulated sugar over medium heat. Stir constantly with a high-heat resistant spatula. The sugar will clump, then melt into a thick amber liquid.
- Add Butter: Once the sugar is completely melted, add the butter. Be careful; it will bubble violently. Stir until the butter is fully incorporated.
- Incorporate Cream: Slowly pour in the heavy cream. Let it boil for 1 minute.
- Finish: Remove from heat and stir in the sea salt. Set aside to cool and thicken.
Phase 2: The Blondie Batter
- Prep: Preheat your oven to 350°F (175°C). Line your 8×8 pan with parchment paper, leaving an overhang on the sides.
- Emulsify: In a large bowl, whisk the melted butter and brown sugar together until no oil streaks remain.
- Aerat: Add eggs and vanilla. Whisk vigorously for about 60-90 seconds until the mixture lightens in color.
- Fold: Sift in the flour, baking powder, and salt. Use a spatula to fold the dry ingredients into the wet until just combined. Fold in chocolate chips if using.
Phase 3: The Assembly and Bake
- Layering: Spread half of the blondie batter into the prepared pan.
- The Core: Drizzle about 1/2 cup of the prepared salted caramel over the batter. Avoid touching the very edges of the pan to prevent sticking.
- Top: Dollop the remaining batter over the caramel. Use a knife to gently swirl the layers.
- Bake: Bake for 30–35 minutes. The center should still have a slight jiggle, and the edges should be golden brown.
- Set: This is the hardest part—let them cool completely in the pan (about 2 hours) before slicing. This allows the caramel to set.
10. Frequently Asked Questions (FAQ)
Q: Why did my blondies turn out cakey instead of fudgy?
A: This usually happens due to over-measuring flour or over-whisking once the flour is added. Use a kitchen scale for accuracy and stop mixing as soon as the last streak of flour disappears.
Q: Can I use store-bought caramel sauce?
A: Yes, but ensure it is a thick, high-quality “caramel dip” rather than a thin ice cream topping, which will disappear into the batter during baking.
Q: My caramel crystallized! What happened?
A: This occurs if undissolved sugar crystals on the side of the pot fall back into the melting sugar. You can prevent this by brushing the sides of the pot with a wet pastry brush during the early stages of melting.
Q: Why is there oil sitting on top of my blondies?
A: This is a sign that the butter and sugar weren’t properly emulsified with the egg. Ensure your eggs are at room temperature and whisk them thoroughly into the butter-sugar mixture.
Q: Can I make these gluten-free?
A: Yes, a high-quality 1:1 gluten-free flour blend works well here, as the structure relies more on the sugar-butter ratio than gluten development.