
1. Introduction: The Quest for the Golden Ratio
There is perhaps no aroma more universally comforting than the scent of butter and brown sugar caramelizing in a hot oven. The chocolate chip cookie is more than just a snack; it is a cultural icon, a childhood staple, and for many bakers, a lifelong obsession.
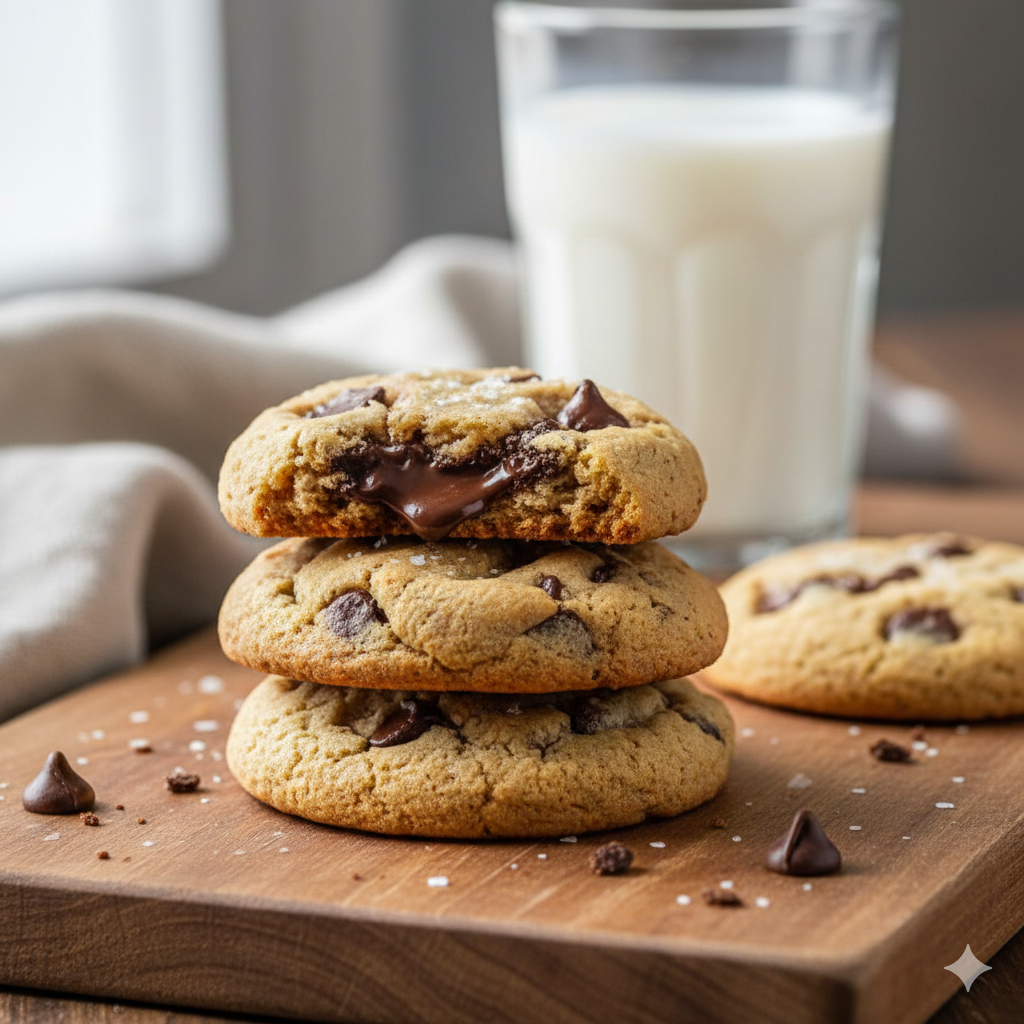
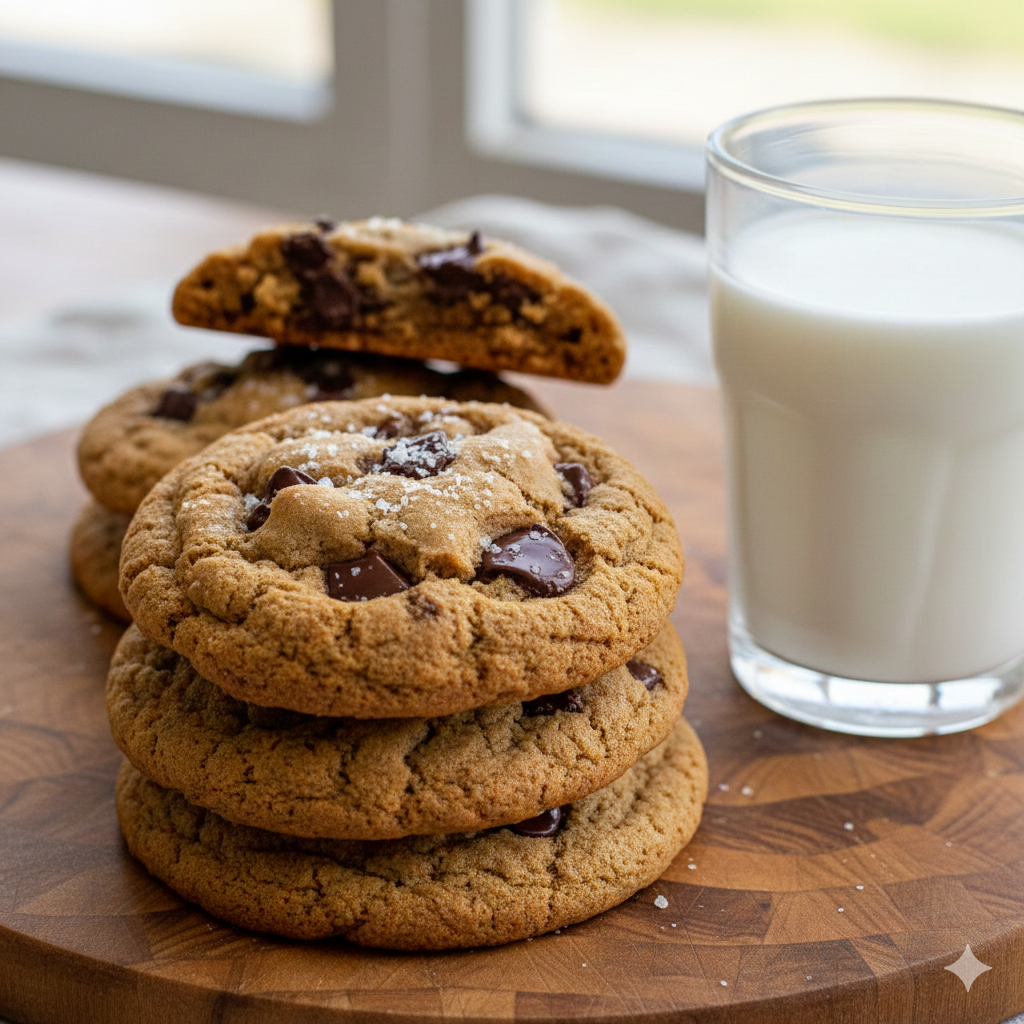
While the original “Toll House” recipe set the standard in the 1930s, the modern palate has shifted toward a specific textural profile: the perfectly chewy cookie. We aren’t looking for a crunchy biscuit or a cakey mound. The goal is a cookie with a golden-brown, slightly crisp outer rim that yields to a dense, buttery, and almost fudge-like center.
This recipe is the result of years of culinary “trial and error,” adjusting the ratios of sugars and exploring the chemistry of fat temperatures. Whether you are baking for a holiday gathering or a rainy Tuesday afternoon, this guide will transform your kitchen into a high-end patisserie.
2. Recipe Overview
- Cuisine Type: American Bakery
- Difficulty Level: Intermediate (requires precision and patience)
- Prep Time: 20 minutes (plus 2–24 hours chilling time)
- Cook Time: 10–12 minutes per batch
- Total Time: Approx. 3 hours minimum
- Dietary Classifications: Vegetarian, contains gluten, contains dairy.
3. Equipment and Tools
To achieve professional results, you need more than just a bowl and a spoon. Precision is the enemy of the mediocre cookie.
- Digital Kitchen Scale: Essential for measuring flour and sugar by weight (grams).
- Stand Mixer or Electric Hand Mixer: To ensure proper aeration of the butter and sugar.
- Large Baking Sheets: Heavy-gauge aluminum is preferred for even heat distribution.
- Silicone Baking Mats or Parchment Paper: Prevents sticking and controls bottom-browning.
- Large Mixing Bowls: One for wet ingredients, one for sifting dry ingredients.
- Wire Cooling Rack: Crucial for airflow to prevent “soggy” bottoms after baking.
- Cookie Scoop: A #20 or #40 scoop (roughly 1.5 to 2 tablespoons) for uniform sizing.
4. Serving Suggestions
A cookie is a masterpiece on its own, but the presentation elevates the experience.
- The Classic: Serve warm with a tall glass of cold, whole milk or a creamy oat milk.
- The Gourmet Garnish: Sprinkle a pinch of Maldon sea salt over the cookies immediately after they exit the oven to balance the sweetness.
- The Sundae: Place a warm cookie at the bottom of a bowl, top with a scoop of Madagascar vanilla bean ice cream, and drizzle with bittersweet chocolate ganache.
- Beverage Pairing: Pairs beautifully with a nutty Espresso or a dark roast coffee. For an evening treat, try a glass of Tawny Port or a Stout beer.
5. Nutritional Information (Per Serving)
Note: Based on a yield of 24 cookies.
| Nutrient | Amount per Serving |
| Calories | 210 kcal |
| Total Fat | 11g |
| Saturated Fat | 7g |
| Cholesterol | 30mg |
| Sodium | 150mg |
| Total Carbohydrates | 28g |
| Dietary Fiber | 1g |
| Sugars | 18g |
| Protein | 2g |
Health Note: While these are an indulgence, using high-quality dark chocolate (70% cocoa) provides antioxidants and a more complex flavor profile than standard milk chocolate.
6. Storage and Reheating
Storage
Store completely cooled cookies in an airtight container at room temperature for up to 5 days. Adding a small slice of white bread to the container can help maintain moisture and keep them soft.
Refrigeration
Do not refrigerate baked cookies, as this can cause them to go stale faster. However, unbaked dough can be refrigerated for up to 72 hours, which actually improves the flavor.
Freezing
- Dough: Scoop dough into balls, freeze on a tray, then transfer to a freezer bag. Bake directly from frozen (add 2 minutes to cook time).
- Baked Cookies: Freeze for up to 3 months.
Reheating
To recapture that “fresh from the oven” feel, microwave a single cookie for 8–10 seconds, or place in a 300°F (150°C) oven for 2–3 minutes.
7. Expert Tips and Variations
The Professional Secret: Brown Your Butter
Instead of just softening the butter, melt it in a saucepan until it foams and turns a nutty golden brown. This adds a toasted, toffee-like depth to the dough.
Common Mistakes to Avoid
- Overmixing: Once the flour is added, mix only until no streaks remain. Overworking the dough develops gluten, leading to a tough, bready cookie.
- Warm Dough: Never put dough on a hot baking sheet from a previous batch.
- Overbaking: Take them out when the edges are set but the centers still look slightly “underdone.” They will finish cooking on the hot pan.
Creative Variations
- The “Everything” Cookie: Add 1/2 cup of toasted pecans and 1/4 cup of crushed pretzels.
- The Espresso Kick: Add 1 tablespoon of instant espresso powder to the dry ingredients.
- White Chocolate Cranberry: Swap semi-sweet chips for white chocolate and dried tart cranberries.
8. Ingredients Section
Dry Ingredients
- All-Purpose Flour: 280g (approx. 2 ¼ cups) – Use a high-quality brand like King Arthur.
- Baking Soda: 1 tsp – For lift and browning.
- Cornstarch: 1 ½ tsp – The secret to a soft, “tender” crumb.
- Fine Sea Salt: 1 tsp – To enhance the chocolate.
Wet Ingredients
- Unsalted Butter: 170g (¾ cup), melted and slightly cooled.
- Brown Sugar (Light or Dark): 150g (¾ cup) – Packed. Dark brown sugar adds more moisture and chew.
- Granulated White Sugar: 100g (½ cup) – For the crisp edges.
- Large Egg + 1 Egg Yolk: The extra yolk adds richness and density.
- Pure Vanilla Extract: 2 tsp – Do not use imitation vanilla.
The Chocolate
- Semi-Sweet Chocolate Chips or Chunks: 300g (approx. 2 cups). Using a mix of chips and hand-chopped chocolate bars creates “pools” of chocolate.
9. Step-by-Step Instructions
- Prep the Dry Base: In a medium bowl, whisk together the flour, baking soda, cornstarch, and salt. Set aside.
- Cream the Fats and Sugars: In your stand mixer (fitted with the paddle attachment), combine the melted butter, brown sugar, and white sugar. Beat on medium speed for about 2 minutes.
- Emulsify: Add the egg, the extra egg yolk, and the vanilla extract. Mix on medium-high until the mixture is pale and smooth (about 1 minute).
- Incorporate Dry Ingredients: Turn the mixer to the lowest setting. Gradually add the flour mixture. Stop as soon as the last streak of flour disappears.
- Fold in Chocolate: Using a rubber spatula, gently fold in the chocolate chips/chunks by hand.
- The Chill (Crucial Step): Cover the dough and refrigerate for at least 2 hours. This allows the flour to hydrate and the fats to solidify, preventing the cookies from spreading too thin.
- Preheat and Scoop: Preheat your oven to 350°F (175°C). Line sheets with parchment. Scoop rounded tablespoons of dough (about 2 oz each) and place them 3 inches apart.
- Bake: Bake for 10–12 minutes. The edges should be lightly golden, but the centers should still look soft.
- The Bang: Gently tap the baking sheet against the oven rack or counter halfway through to create ripples in the dough.
- Cool: Let the cookies rest on the baking sheet for 10 minutes before transferring to a wire rack.
10. Frequently Asked Questions (FAQ)
Q: Why did my cookies spread so much?
A: This usually happens if the butter was too hot when mixed, or if the dough wasn’t chilled long enough. Also, ensure you aren’t over-greasing your baking sheets.
Q: Can I use salted butter?
A: Yes, but reduce the added sea salt in the recipe by half to avoid an overly salty flavor.
Q: Why is cornstarch in a cookie recipe?
A: Cornstarch breaks up the gluten proteins in the flour, resulting in a more delicate, “tender” chew that stays soft for days.
Q: Can I make this dough in advance?
A: Absolutely. Cookie dough is best after 24 hours of “aging” in the fridge, as the flavors deepen and the sugar breaks down.


